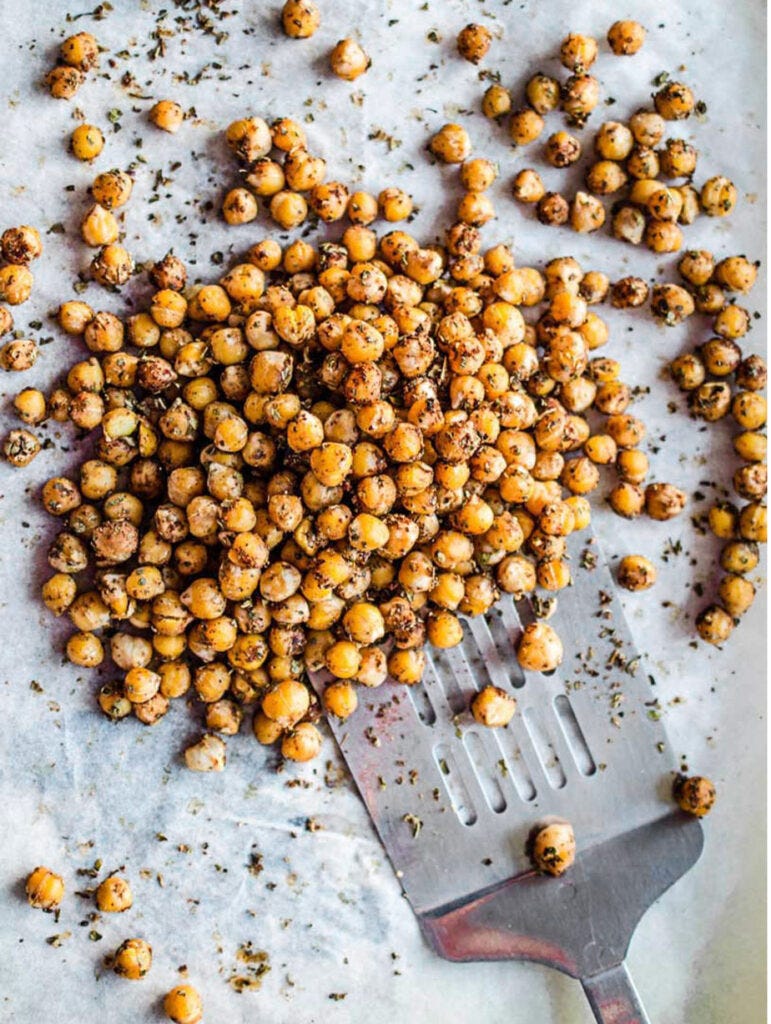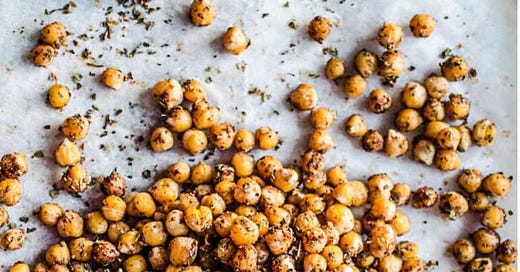
These vegan oil-free roasted pizza chickpeas are back by popular demand! They had a little hiatus from RiseShineCook.ca while I was setting up my new website and I heard from many of you wondering where the recipe was! It's back!
About These Vegan Oil-free Roasted Pizza Chickpeas
If you like picking and grazing, these vegan oil-free Roasted Pizza Chickpeas are the best snack!
They’re flavourful, a little salty, and, in true snack fashion, force you to eat slowly, one at a time and with your fingers. I mean you can shove a handful in your mouth!
Before I get to the recipe and how you can use these roasted pizza chickpeas to makeover snack time or upgrade your lunch, I want to talk about an easy but powerful action you can take in your kitchen right now to improve your health and save a few bucks.
Get Rid of Canned Beans!
I used to think that beans ONLY came in cans. Like that’s the only way you could buy them. If I needed chickpeas or kidney beans, I went straight to the canned foods aisle. In case you don’t know, I did not know, beans and legumes should be bought in their dried form. They come in bags and boxes.
Up to this point, if I was making chilli, I’d head to the grocery store and load up on canned beans. I’d lug them home and line them up on my counter with can opener ready!
My kitchen looked like the remnants of a can massacre; silver tops, jagged edges and ripped up labels strewed all over the counter. I literally thought this was how it was.
A much easier way of stocking beans and legumes is to buy them dry! They’re there in the grocery store too although they take up much less space in the aisle and you might have to look high and low to find them (literally, they’re usually on the bottom shelf).
Not only is buying dried beans cheaper it’s also much healthier!
Canned food can last a lifetime but the canning process and the can itself can lead to some not-so-healthy consequences.
The Problem With (Most) Cans
The canning process involves heating the contents to high temperatures to sterilize the contents.
Most cans have a plastic lining on the inside made from some amount of Bisphenol A (BPA). BPA is used as a barrier between the aluminum can and the contents of the can, because we don’t want the aluminum leaching into our foods. Instead we get some BPA leaching into our foods!
BPA is a chemical that is known as an endocrine disruptor, meaning it can mess with our hormones. It’s been linked to reproductive issues, obesity and certain cancers.
In 2011, a Harvard School of Public Health study shocked the nutrition world when they discovered that volunteers who consumed a serving of canned soup each day for five days had a more than 1,000% increase in urinary bisphenol A (BPA) concentrations. Many studies have followed but this study had everyone switching plastic water bottles and baby bottles overnight. There may be restrictions on BPA in plastic bottles and infant formulas but it’s still in canned goods.
Bottom line is that canned foods are exposed to extreme heat and processing, reducing their nutritional value and most canned foods are made with BPA in their lining. When in doubt, avoid canned foods! This includes avoiding canned beans! This is a more thorough read and update.
Full disclosure! I do keep a few cans of emergency beans in my pantry. And I choose Eden canned beans and I also prefer to use their bottled tomatoes,
Cooking Beans At Home
Cooking your own beans is EASY. You don’t need measuring cups or timers or any fancy equipment. The following applies to most beans but does not include lentils – these require a much shorter cooking time and a ratio of lentils to water of 1:3.
Throw a couple handfuls in a big bowl, cover with water and let sit overnight.
The next day drain, transfer the beans to a medium-large pot, cover with water by 2-3 inches (eyeball this) partially cover. Also make sure there is a few inches between the top of the pot and the water to avoid boiling water from spilling out.
Bring the water to a boil and then reduce to a simmer. Simmer for 1-2 hours. Check periodically and add more water if needed.
How do you know they’re done? Take one out, let cool and eat it. If it’s soft, it’s done!
If the beans are starting to break open and their skins are floating around in the pot, also likely they’re done.
Once you turn the heat off, you can let them sit in the cooking water until you’re ready to handle them or you can drain right away and transfer to a glass jar or storage container. Let the beans cool with the lid off until they’ve reached room temperature then refrigerate. The beans are ready to use and will keep in the fridge for 3-5 days.
I review more bean tips and tricks in The Plant-Based Cookbook!
Vegan Oil-Free Roasted Pizza Chickpeas

A delicious and healthy snack that's rich in fibre and protein!
2 cups chickpeas (cooked or canned, drained well)
1 teaspoon dried oregano
1 teaspoon dried basil
1 teaspoon dried chili powder
½ teaspoon garlic powder
¼ teaspoon sea salt
Black pepper to taste
*Optional-2 teaspoons melted coconut oil ((see notes))
Preheat the oven to 400° and line a baking sheet with parchment paper.
Add the chickpeas to a medium/large bowl. Put all the spices in a small bowl and mix together.
Spread the spices evenly over the chickpeas and toss until all chickpeas are coated in spices.
Transfer to the baking sheet and bake for 20 minutes. Remove from the oven and shake them around and return to the oven for another 10-15 minutes. Keep an eye on them so they don’t burn.
Remove from the oven and let cool for 5-10 minutes! Enjoy as a snack, add them to a salad, put them in a wrap or on top of a baked potato!
If using coconut oil, drizzle the coconut oil over the chickpeas and then toss them with the spices. I've added this option for those who do enjoy oil and really want a crispier roasted pizza chickpea.
Without oil, the chickpeas won’t get as crispy. Instead, they will be a little chewy, which I love!
As these pizza chickpeas cool completely they will soften a little more. Keep them in a sealed container in the fridge.


